
🎵 Try Kidstrument in your Classroom — get up to a year free ➡️
Kidstrument includes a complete music curriculum from Early Years to Year 6. The Curriculum Designer is for schools that want the flexibility to shape delivery for their own context — mixed-age classes, assemblies, themed weeks, clubs, cover, staff strengths, and more.
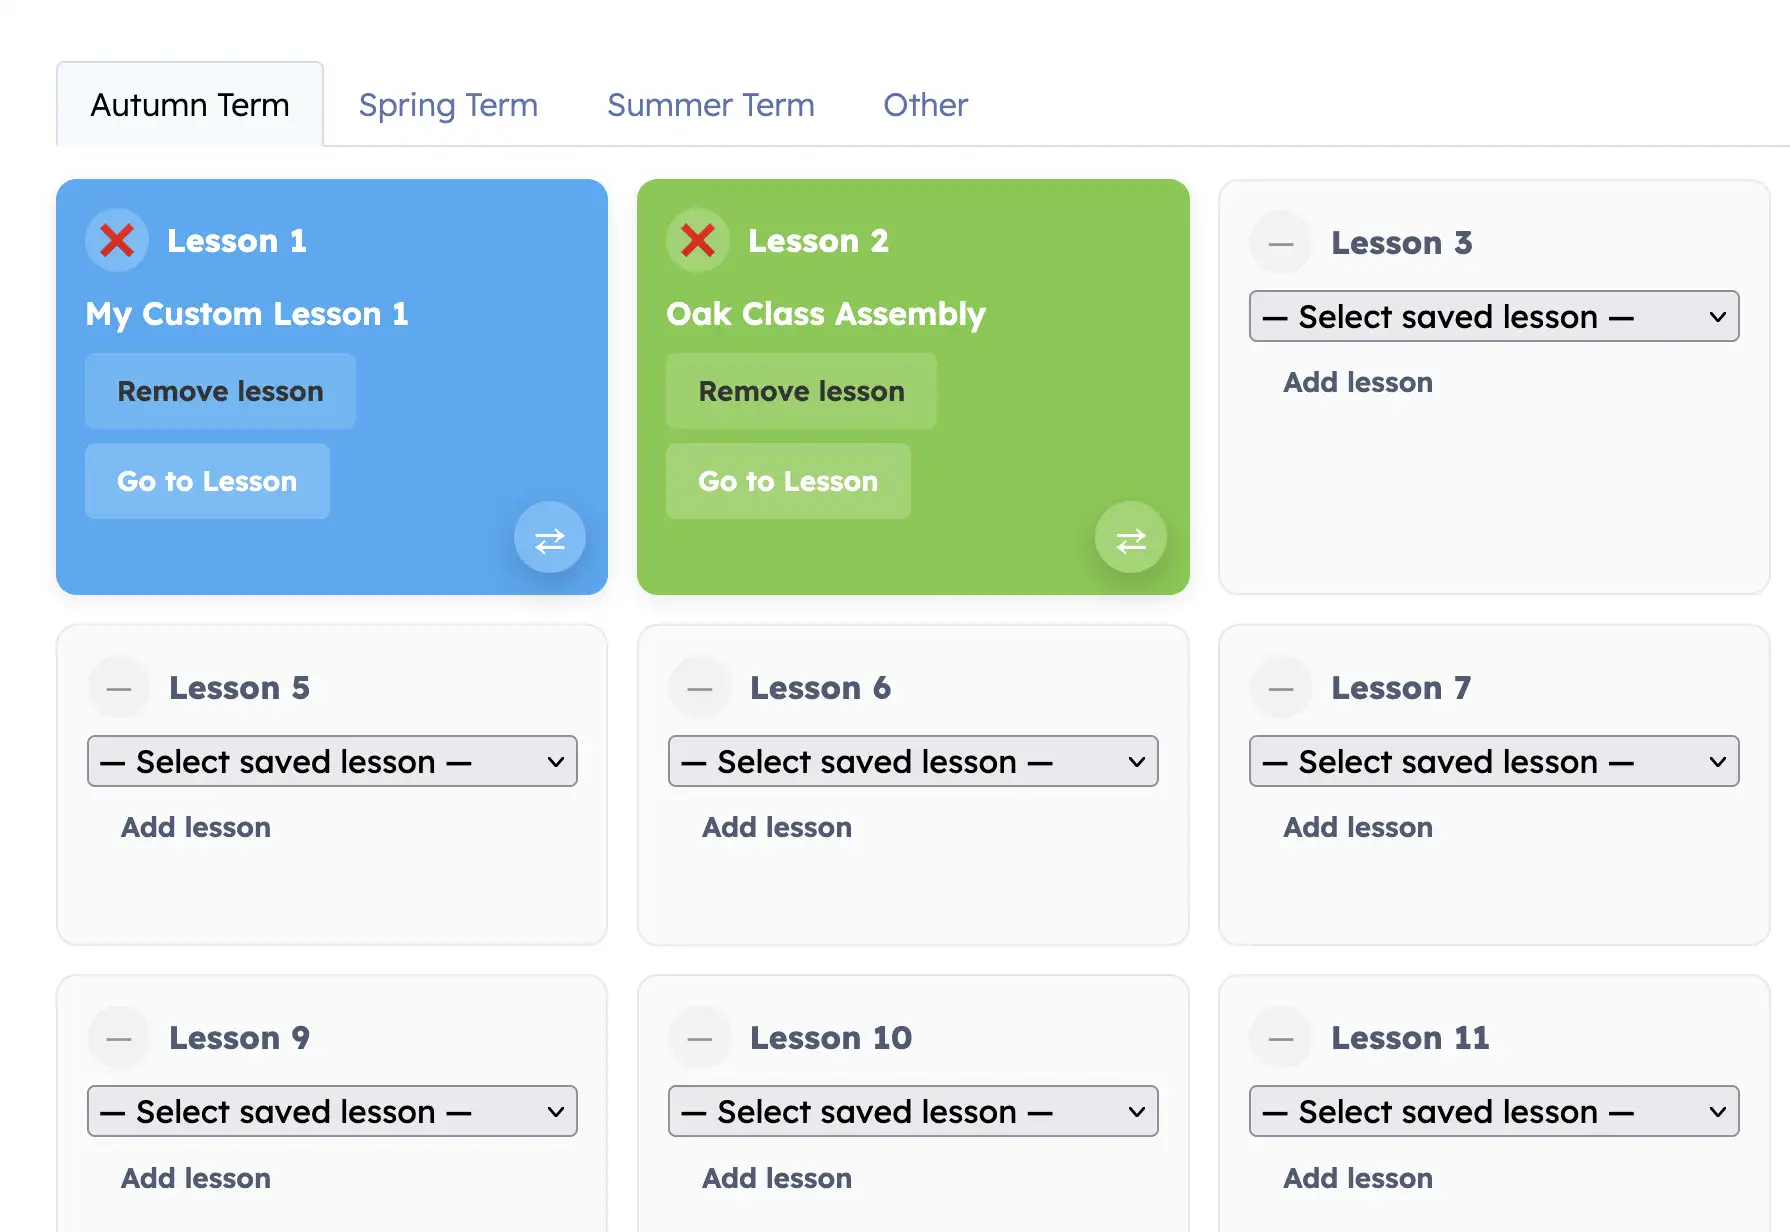
It’s three connected tools: Lesson Builder (build & save lessons), My Grids (place lessons into a term plan), and School sharing (share curricula with other teachers from your school).
This walkthrough shows the full flow: building a lesson from the Content Bank, saving it, placing it into your grid, launching it to teach, swapping tiles, and ticking lessons as taught.
This is the typical teacher workflow. Build once, place it into your plan, teach from the grid, then mark it as taught.
Use Lesson Builder + My Grids alongside ready-made Schemes of Work, the Content Bank, and tracking dashboards. Schools can use off-the-peg schemes, custom pathways, or a blend of both.
Quick start: Choose activities in the Content Bank → Save as a lesson → Place into My Grids → Go to lesson to teach → Tick as taught.